Guide: Sod
When installing sod, there are some important tips to keep in mind. In this blog, we’ll discuss the proper soil prep prior to laying the sod, as well as how to help your sod thrive.

Soil Prep
1. Till the soil using a shovel or rototiller.
This will loosen the soil, reduce compaction, and make it easier for the roots to grow into the soil. Loose soil also holds moisture better. Dig down as deeply as possible (3-4 inches is recommended), and go over the area multiple times to break up any clumps. If the soil is especially hard, it may help to water the day before to make digging easier.
2. Rake smooth and remove debris.
Remove any dead vegetation so it doesn’t create an air pocket that will allow the sod to dry out. Level the soil as smoothly as possible, and add any topsoil as needed to amend the soil or change the grade.
3. Apply starter fertilizer to the soil prior to installation.
Your new sod will need the nutrients to establish roots, so make several light passes as opposed to one heavy one. This will ensure a more even application and reduce the risk of over-fertilization. A good fertilizer to use would be Scotts’ Starter Fertilizer.
Once the Sod is Laid
Once the sod is installed, it’s crucial to continue to care for it in order for it to root. Consistent watering is the key to strong sod roots. If your sod is planted in the summer, it should be watered throughout the day to prevent shrinking and drying out. Immediately after installing, water for 45 minutes to allow both the lawn and soil to gather moisture. During the first couple of weeks, water 15-20 minutes at a minimum of twice a day.
It’ll be safe to mow the new lawn about two weeks after installation, except in the winter. You should wait a little longer to mow. When you do mow, make sure to mow high and never mow off more than a third of the grass blade.
About three to four weeks after installation, you can reduce the frequency of watering after each mowing, while increasing minutes per watering. Deeper, less frequent soaks will help the roots grow down deeper and establish more quickly into the soil. Fertilize the new lawn at one month to continue encouraging rooting and establishment. 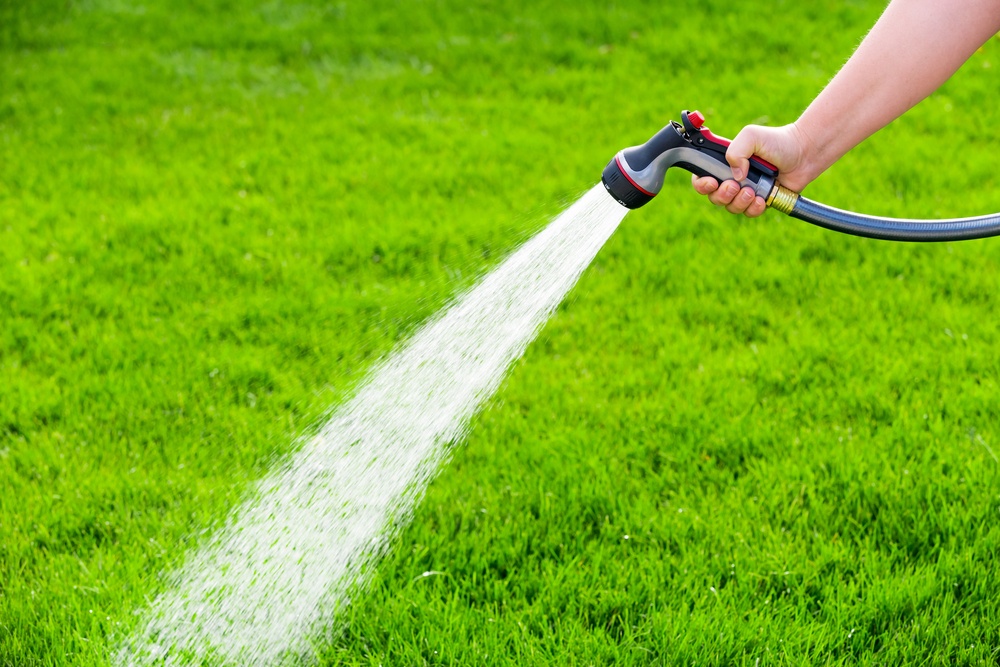
Troubleshooting
Most varieties of sod will begin to root within ten to fourteen days. If yours isn’t, check your watering schedule and adjust to deeper, less frequent soaking. Keep in mind that excessive shade will slow down rooting.
If you have blueish-grey spots or footprints show after being walked on, this is indicative that your lawn is under-watered and is drought-stressed. Try increasing minutes per watering or adjust your sprinkler coverage.
Mushrooms on the lawn are temporary. As your watering gets deeper and less often, they usually dry up and wither away.
If the edges of your new lawn are turning brown, or there are gaps between the rolls, your sod is shrinking – due to a lack of water! Increase the minutes per watering and frequency to minimize the gaps. Hand-watering helps to shrink the gaps, since you can focus on the spots needing extra water. Press down on the edges with your foot after watering.